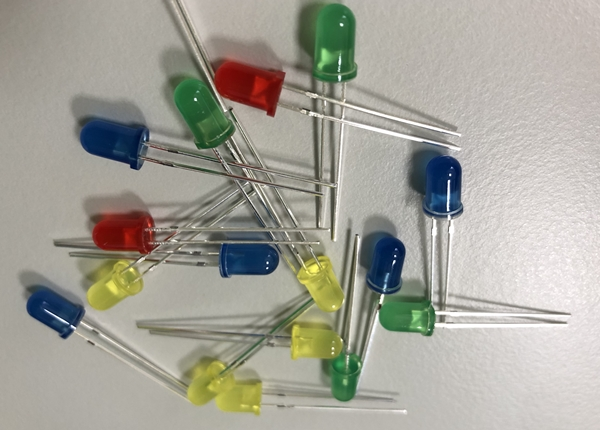
LED是便宜又有趣的小零件,可以做出非常多有趣的效果,所以我們在這一個單元中就利用LED來做一些有趣的實驗。
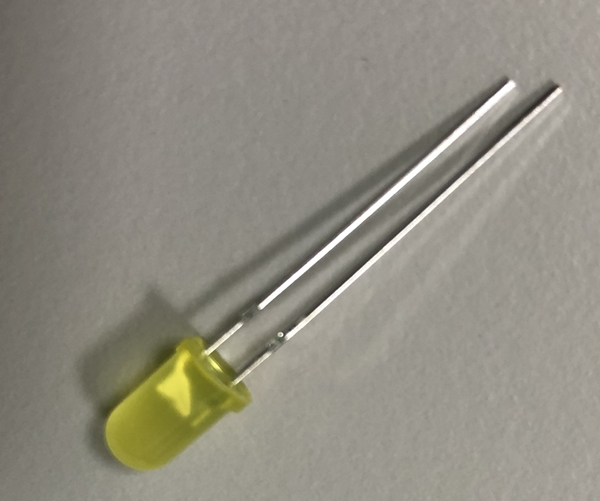
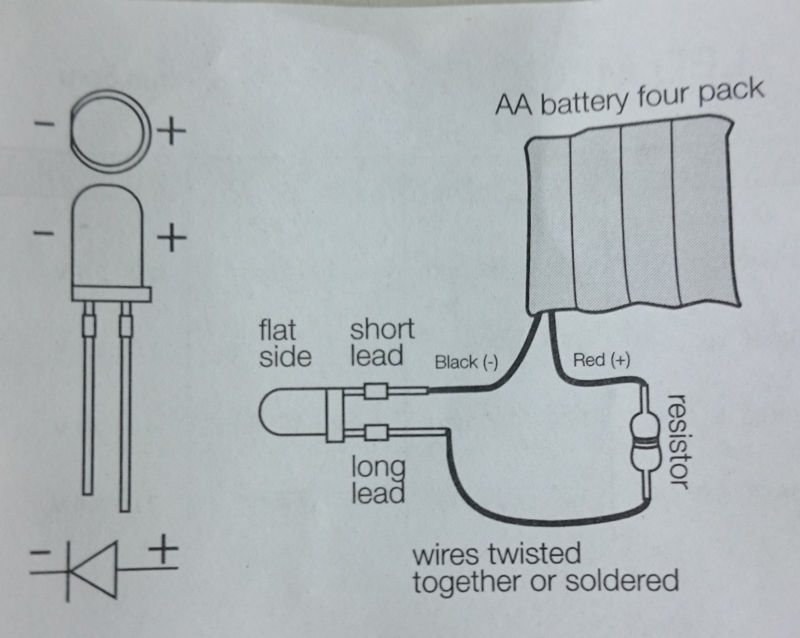
拿到LED之後,要仔細看看,它的兩支腳是不一樣長的喔,長的那腳是正極,短的那腳是負極:
我們買的這批LED有附上一個簡單的說明書,說明接腳的方式以及連接上電路的方式:
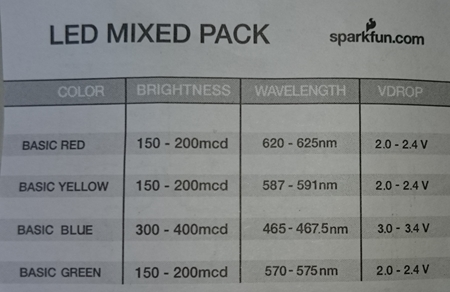
還附上了簡易的規格,說明光的顏色、亮度、波長、以及可以接受的電壓範圍:
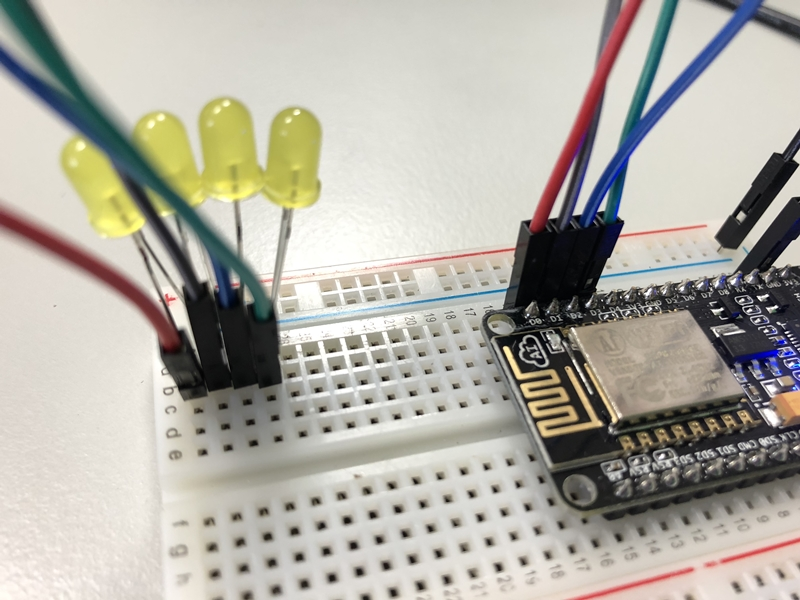
一次使用4個LED的接線圖:
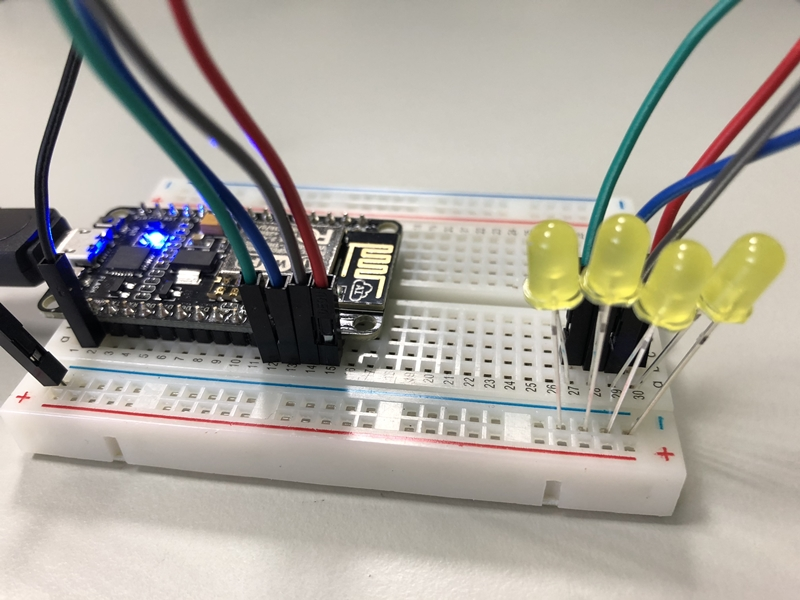
要特別注意的是,為了方便練習起見,我們在這裡沒有為LED加上限流電阻(別忘了,NodeMCU的輸出電壓是3.3V,而LED可以接受的電壓範圍為2.0~3.4V之間),如果你在你的專案中需要長時間點亮LED的話,使用限流電阻可以延長LED的使用壽命喔。
靠近一點看:
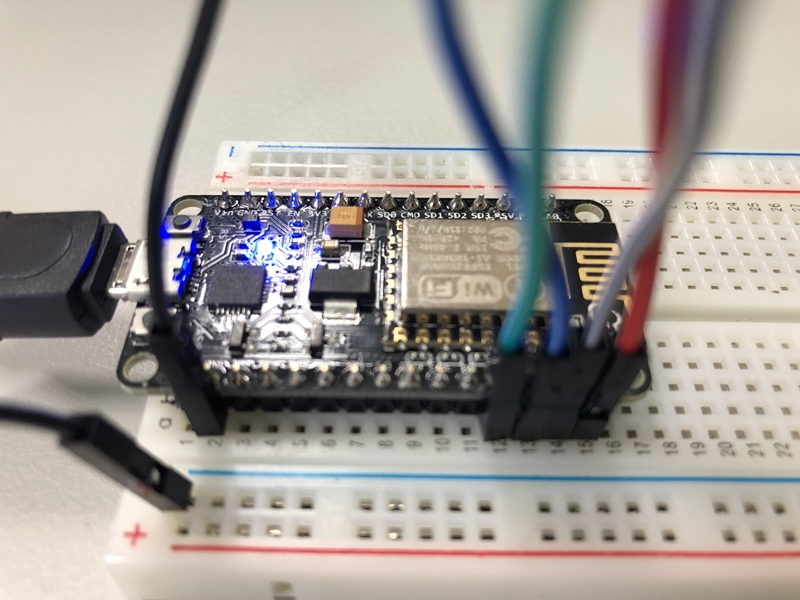
從另外一邊看:
同學們可以先猜猜看以下這支程式的功用喔。
from machine import Pin
import time

led_no = [16, 5, 4, 0]


def switch_off():
	for led in leds:
		led.off()

leds = list()
for i in range(len(leds)):
	led = Pin(led_no[i], Pin.OUT)
	leds.append(led)

while True:
	for led in leds:
		switch_off()
		led.on()
		time.sleep(0.2)
下面這支影片是上面程式的執行結果:
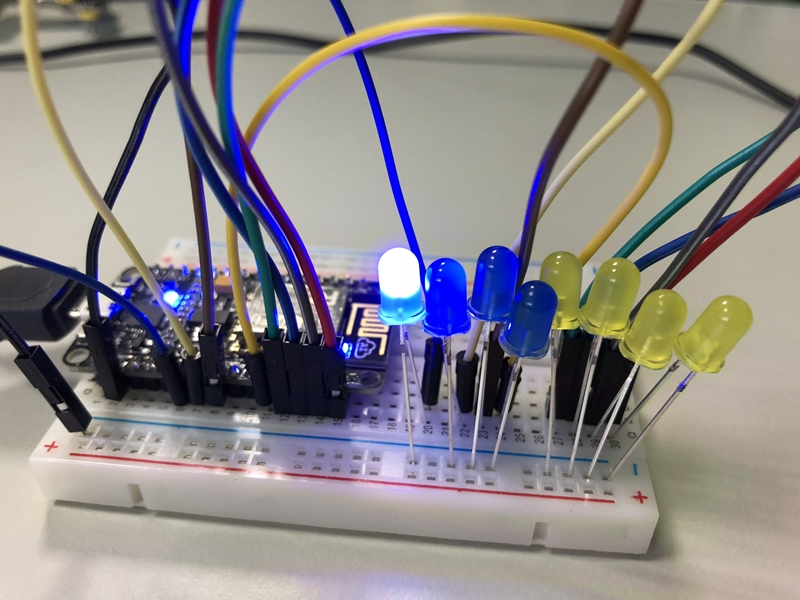
如果把LED擴充成8個呢?使用Python的好處就是,要改的地方只有一點點而已:
from machine import Pin
import time

led_no = [16,5,4,0, 2, 14, 12, 13]
def switch_off():
	for led in leds:
		led.off()

leds = list()
for i in range(len(led_no)):
	led = Pin(led_no[i], Pin.OUT)
	leds.append(led)

switch_off()
while True:
	for led in leds:
		switch_off()
		led.on()
		time.sleep(0.1)
連接的照片如下:
示範影片如下: